
Last updated November 20, 2026
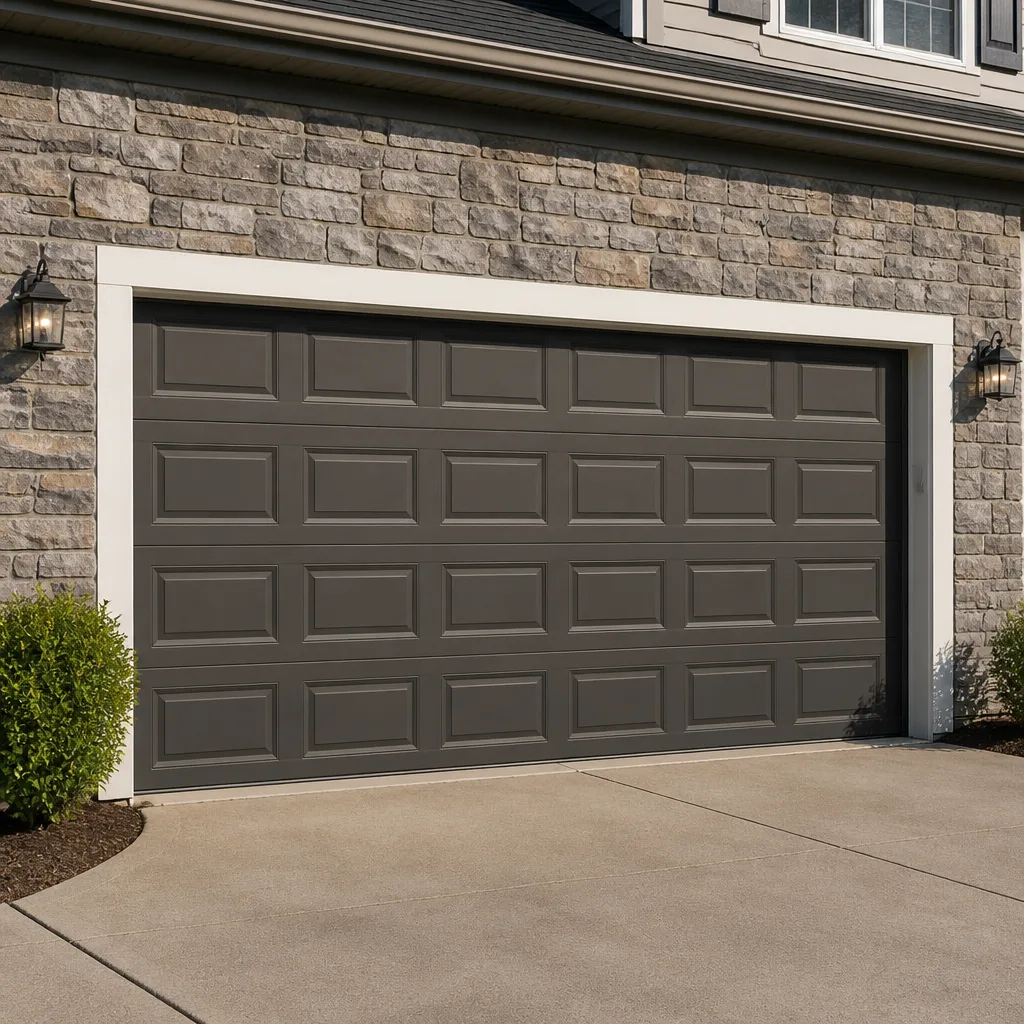 Raised-panel steel
 Carriage house
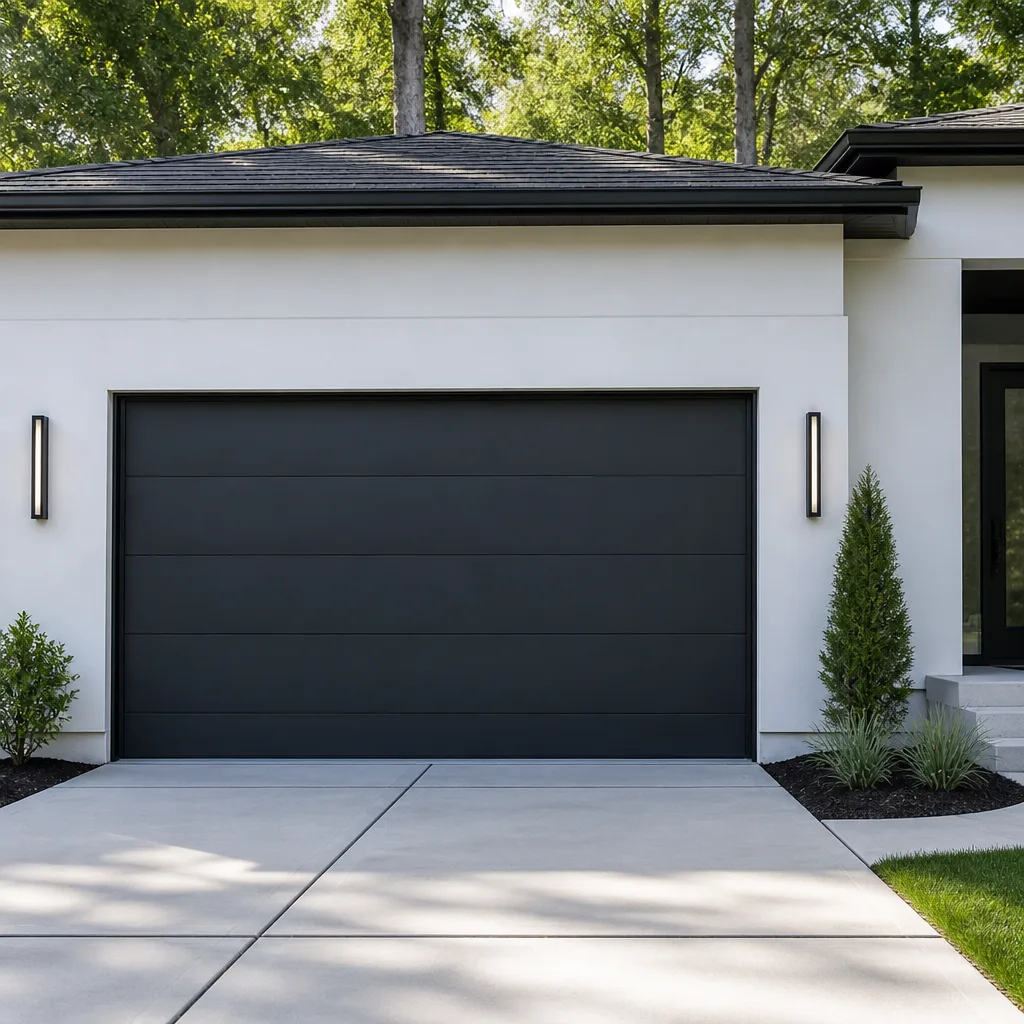 Modern flush
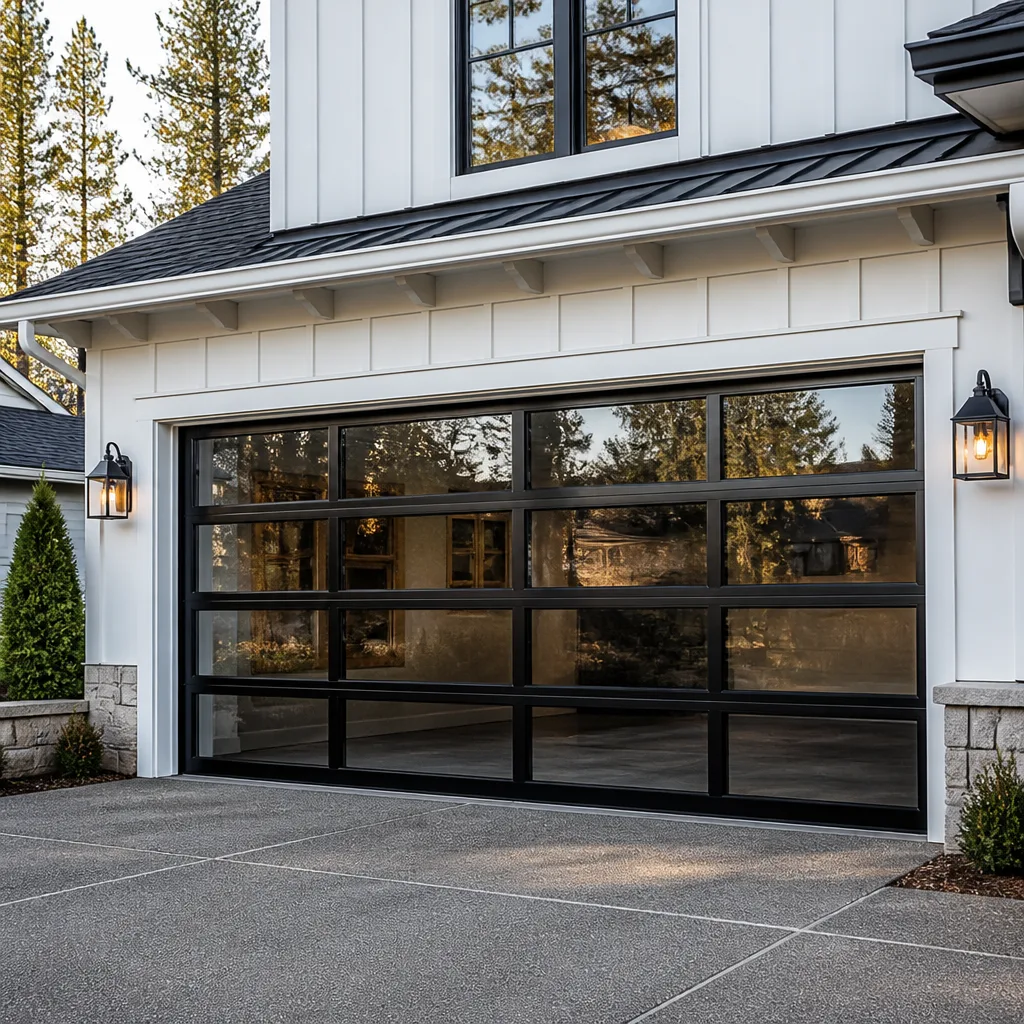 Full-view glass
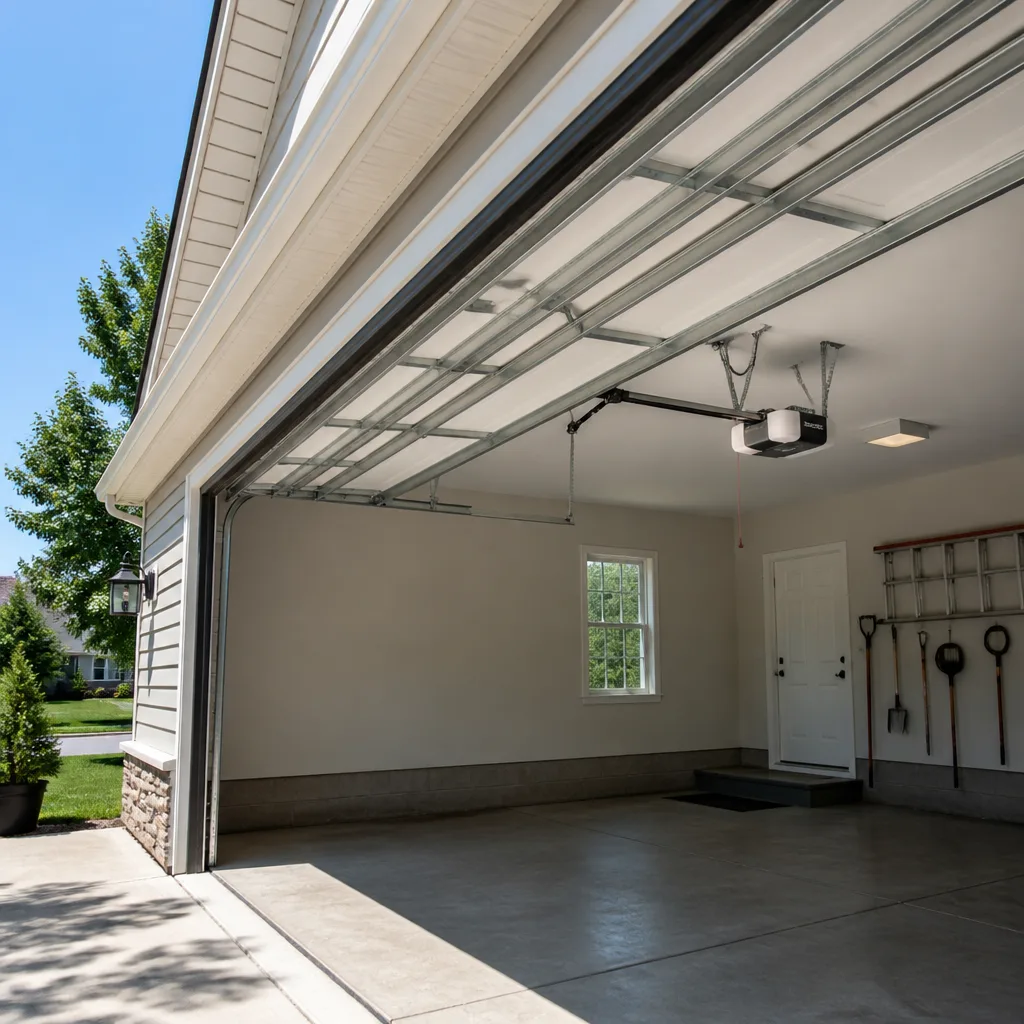 LiftMaster openers
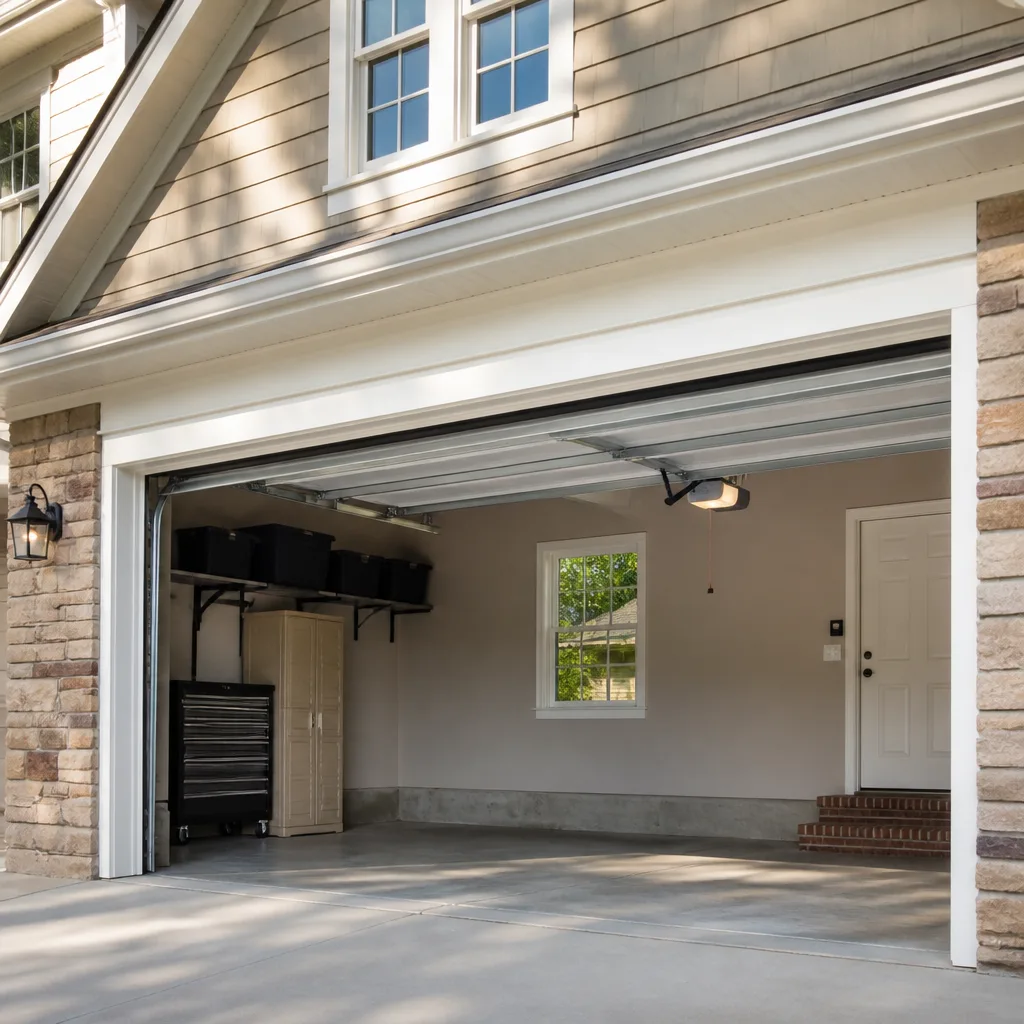 Chamberlain openers
Full 25-point door and opener safety check with every visit - springs, cables, rollers, tracks, and your LiftMaster or Chamberlain opener included
You get a price before we start. It does not change when the pro arrives.
Get your free estimateGarage Door Repair Maintenance Checklist for Elizabeth Homeowners
Most garage door checklists tell you to “inspect the springs” and “listen for strange noises” and then leave you there. That’s not much help when you’re standing in a garage in Elizabeth at 8am wondering whether the rust on your torsion spring is normal or a countdown. The failure that brings more homeowners to the phone than any other is a broken torsion spring, and here’s the part almost nobody tells you: that spring has usually been telling on itself for weeks. It gives you warnings through the coil gaps, the rust pattern, and the balance of the door. This guide covers what each failure actually looks like, which checks are safe for you to do and which ones shouldn’t touch. Elizabeth homes deal with particular conditions that change the maintenance timetable, and we’ll get into those too.
Quick Answer
A safe garage door maintenance checklist for Elizabeth homeowners covers four things: a monthly visual check of springs and cables, lubrication every season that changes hard (so roughly four times a year here), a balance and travel-limit test on your opener, and a look at the bottom seal before winter freeze-thaw and road-salt season. Everything on that list is DIY-safe except spring tension, cable drums, and any repair that involves loosening a spring, cable, or bracket. Those should stop you and prompt a call.
Styles & brands we work with
- Raised-panel steel
- Carriage house
- Modern flush
- Full-view glass
- LiftMaster openers
- Chamberlain openers
Table of Contents
- How to Visually Inspect Torsion Springs Before They Fail
- The Elizabeth Lubrication Schedule (Not Twice a Year)
- Testing Balance and Travel Limits on LiftMaster, Chamberlain, and Genie Openers
- Weatherstripping Under Freeze-Thaw and Road Salt
- Testing the Safety Reverse System
- Which Checklist Items Are DIY-Safe and Which Stop You
- A Monthly Walkthrough in Under Five Minutes
How to Visually Inspect Torsion Springs Before They Fail
A torsion spring usually gives three visible warnings before it snaps: a widening gap between coils, a rust line along one section of the coil, and a door that suddenly feels heavier or slower than it did months ago. You can see all three from the floor without touching anything. Do this check with the door closed and the opener disconnected from the door (pull the release handle), so the spring is under tension and any defect shows clearly.
What to look for, in order:
- Coil gaps. Look along the length of the spring. The coils should sit close to each other with an even gap. A single wide gap, or a gap that has opened up noticeably since your last check, means the spring has stretched and lost lift capacity. It’s closer to breaking than it looks.
- Rust. A light dusting is normal. A rust band concentrated in one section, or rust that’s pitted the surface, is a failure point. Springs break where the metal has thinned.
- Paint or coating wear. A bright spot of exposed metal along the coil line is a sign of stress where the wire has been flexing.
- Winding cone condition. Look at the ends of the spring where it meets the shaft. A cone that’s shifted or shows cracks is serious.
Elizabeth-area residential doors very often carry one or two torsion springs sized to the door’s weight, typically a 2-inch inside diameter and a wire gauge matched to a standard single or double door. The specific coil count and wire gauge determine how much lift the spring provides, and a spring that’s been replaced with the wrong one will fatigue fast and behave unpredictably. If a prior replacement looks mismatched next to the other spring on the shaft, that’s worth a professional look. Anything more than a visual inspection of springs is genuinely dangerous: the springs carry enough stored energy to break bones and cause serious injury, so leave the winding, unwinding, and any physical contact to a trained technician. For that work, our garage door spring repair service handles the diagnosis and replacement safely.
The Elizabeth Lubrication Schedule (Not Twice a Year)
Lubricate the moving metal parts four times a year in Elizabeth, not twice, because this region swings between humid summers and hard freeze-thaw winters and both dry out lubricant at different rates. A spring that gets lubricated in spring can be dry by the first cold snap in November. The right cadence here is roughly once per season: spring, summer, early fall, and just before the deep cold.
What to lubricate and what to leave alone:
- Do: the torsion spring coils (a light coat), the hinges, the rollers (the shaft and bearing, not the wheel), and the hinges’ pivot points.
- Do: the opener’s rail, chain, or belt per the manufacturer’s guidance for your specific opener.
- Don’t: spray lubricant onto the door tracks. Grease in the tracks collects grit and makes the door drag. Wipe the tracks clean and leave them dry.
- Don’t: use heavy grease on a torsion spring. A light lithium or silicone spray that penetrates and stays put is the right choice.
Temperature swings matter more than most homeowners expect. Summer humidity in Elizabeth can cause a poorly lubricated spring to corrode quietly inside the coil, and the first hard freeze then makes the same spring brittle. That’s why springs break so often on the first cold morning of the season. If your door gets noticeably louder as the weather cools, that’s a prompt to lubricate and then re-check the spring for gaps. A well-lubricated door is a quieter door, and a quieter door gives you a cleaner read on whether anything else is wrong. If a noise persists after lubrication, it’s usually a worn roller or a loose hinge, which comes up again in the “when to call” section.
Testing Balance and Travel Limits on LiftMaster, Chamberlain, and Genie Openers
Three opener brands come up most often on Elizabeth doors: LiftMaster, Chamberlain, and Genie. The balance test is the same for all three, and the travel-limit adjustment differs slightly by brand, so here’s how to check each one without guessing.
The balance test (works on any opener)
- Disconnect the opener using the release handle. The door should now move by hand.
- Raise the door to about halfway and let go. A balanced door holds its position or drifts only slightly. A door that slams down or creeps up is out of balance, and the cause is almost always spring tension or a worn cable or roller.
- Lower the door fully and re-engage the opener. If it wasn’t balanced, the opener is doing the spring’s job, and it will wear out faster and eventually fail.
Travel limits and force settings by brand
On LiftMaster and Chamberlain openers, the up and down travel limits and the force adjustment are typically set with labeled adjustment screws on the back or side of the motor housing, or through the wall control and remote on newer models. On Genie openers, the up and down limits are usually set with limit screws on the powerhead, and the force is set with a separate control. In every case, the door should open fully without straining and close fully against the floor without reversing on its own.
If the door stops short, reverses halfway, or slams at either end, the limit is off, and you can adjust it. If adjusting the limit doesn’t fix it, the problem is downstream: a failing spring, a binding track, or a dying opener motor. Certified familiarity with LiftMaster, Chamberlain, and Genie matters here because the adjustment procedure isn’t fully transferable between them, and a technician who already knows your brand skips the diagnostic wandering. If your opener is the issue rather than the door, our garage door opener repair team handles brand-specific fixes and replacements.
Weatherstripping Under Freeze-Thaw and Road Salt
Check the bottom seal every fall, before the first freeze, because that’s the deadline that matters in Elizabeth. The bottom weatherstripping is the rubber or vinyl strip along the bottom edge of the door, and it takes the worst of what the road throws at it. Freeze-thaw cycles crack it, and road salt carried in on tires and boots speeds up the deterioration. A cracked seal lets in cold air, water, and pests, and it also lets the door sit unevenly against the floor.
What to check:
- Cracking and brittleness. Run your hand along the seal. If it’s stiff, cracked, or leaves crumbs, it’s done.
- Flattening. A seal that’s compressed flat along one section no longer touches the floor.
- Gaps at the floor. Close the door and look for daylight under it. Any visible gap is a leak.
- The side and top seals too. The jamb seal and top seal also crack in the cold and let water in along the frame.
Bottom seal replacement is genuinely a DIY job on most residential doors, and it’s cheap compared with fixing the water damage a failed seal causes. The catch is getting the right profile: bottom seals come in different shapes and thicknesses, and the wrong one won’t sit flush. If you’re not sure which profile your door takes, a quick measurement of the door’s bottom edge and a call will tell you. Once the freeze sets in, replacing a seal outside becomes unpleasant and the new rubber won’t seat as easily, so the fall window is the one to aim for. Wayne Dalton and Raynor doors in particular use door-specific seal profiles, so matching the brand matters.
Testing the Safety Reverse System
Test the safety reverse every month, and test it by hand rather than with the manufacturer’s test block. The two tests are the mechanical reverse and the photo-eye reverse, and they catch different failures.
Mechanical reverse test
- Place a solid object (a 2×4 laid flat, or a few stacked books about 1.5 inches high) on the floor in the door’s path.
- Close the door with the wall control and watch it. When the door contacts the object, it should reverse and open again.
- If it presses down on the object before reversing, or doesn’t reverse, the force setting is too high or the mechanism is failing. Stop using the opener and have it checked.
Photo-eye reverse test
- Close the door and confirm the door stops and reverses when you break the beam with your foot or a hand (don’t put your body in the door’s path under a door that’s lowering; use the beam test with the door open first).
- Better: with the door open, wave an object between the two photo-eye sensors while the opener is running the door down. The door should reverse.
- Check the sensor lenses for dirt, and make sure the small indicator lights on both sensors are steady (not blinking). A blinking light usually means misalignment.
A safety reverse system that fails is a serious problem, not a minor annoyance. It’s the only thing standing between a closing door and a child, pet, or car, and it’s the one item on this checklist where you should not accept “it probably works.”
Which Checklist Items Are DIY-Safe and Which Stop You
You can safely do most of this checklist yourself, and you should not do a few items no matter how handy you are. Here’s the split.
Safe for homeowners
- Visual spring inspection from the floor (closed door, opener disconnected by the release handle).
- Lubricating springs, hinges, rollers, and the opener rail.
- Testing balance and travel limits.
- Cleaning the tracks and wiping them dry.
- Replacing the bottom weather seal.
- Testing safety reverse and photo-eyes.
- Tightening visible hinge and bracket bolts that are accessible without touching the spring or cable.
- Replacing a worn roller (with the door fully open and the opener disconnected, and only if you’re comfortable with it).
Stop and call
- Anything that involves the torsion spring or its winding cones, including trying to “test” spring tension.
- Anything involving a cable, cable drum, or the shaft.
- Any attempt to adjust the spring to fix a door that won’t stay up.
- Any repair where a bracket is loosening from the wall above the door.
- An opener that keeps running after the door hits the floor or stops short.
The pattern that causes the most injuries is a homeowner who’s comfortable with tools and assumes the spring is just another part. It isn’t. A torsion spring stores enough force to seriously injure or kill, and the winding and unwinding process is the most hazardous step in garage door work. Springs and cables are the two things to leave alone. Everything else on the safe list you can do this weekend.
A Monthly Walkthrough in Under Five Minutes
Do this monthly walkthrough in Elizabeth on the first of each month, or whatever day you’ll remember. Five minutes a month keeps you ahead of the expensive failures.
- With the door closed, disconnect the opener and look at the springs for coil gaps, rust bands, and any change since last month.
- Check the cables for fraying, kinks, or a loose end. Don’t touch; just look.
- Raise the door halfway, let go, and confirm it holds its position.
- Re-engage the opener and run the door up and down once. Listen for grinding, scraping, or a new rattle.
- Run the safety reverse test with a 1.5-inch object on the floor.
- Break the photo-eye beam while the door runs and confirm it reverses.
- Check the bottom seal for cracks and daylight under the door.
- Wipe the tracks clean and dry, and note whether the door is slower or louder than last month.
Note the date and what you see. A spring that’s stretched a bit since last month is a different story than one that looks like a spring you’ve never seen. If the walkthrough turns up anything on the “stop and call” list, that’s the moment to call, not the moment to try to fix it. For repair issues that turn up during the walkthrough, our garage door repair service handles the diagnosis and the fix, and we can also work with your insurance provider if the cause turns out to be storm or impact damage rather than wear.
Common Mistakes to Avoid
- Lubricating the tracks. Grease in the tracks collects grit and makes the door drag, so it wears faster. Clean the tracks and keep them dry instead.
- Skipping the spring check because the door “works fine.” A fatiguing spring doesn’t announce itself through noise. The visual warning (coil gaps and rust) shows up long before the door starts misbehaving, and that’s the window to replace it on your schedule rather than on a Sunday.
- Replacing one spring when the pair is matched. The two springs work together and wear together, so a single spring replacement usually means a second call soon after. Our spring work usually addresses both at once for that reason.
- Adjusting the force setting to make a stiff door close. If the door needs more force to close, the problem is the door, not the opener. Turning up the force on a misadjusted or binding door can mask a spring failure and burn out the opener.
- Setting the opener to close the door on a cracked bottom seal. A bad seal gives the door inconsistent contact with the floor, and the opener’s force setting may then push the door down harder than it should. Fix the seal and re-check the reverse.
- Ignoring a noisy door until it stops. A new grinding or scraping usually comes from a worn roller or a loosening bracket. Those are quick repairs now and expensive ones later.
- Doing spring or cable repairs without training. Springs and cables are the one place on this checklist where DIY is genuinely dangerous. Everything else here is safe, but not those.
See the difference
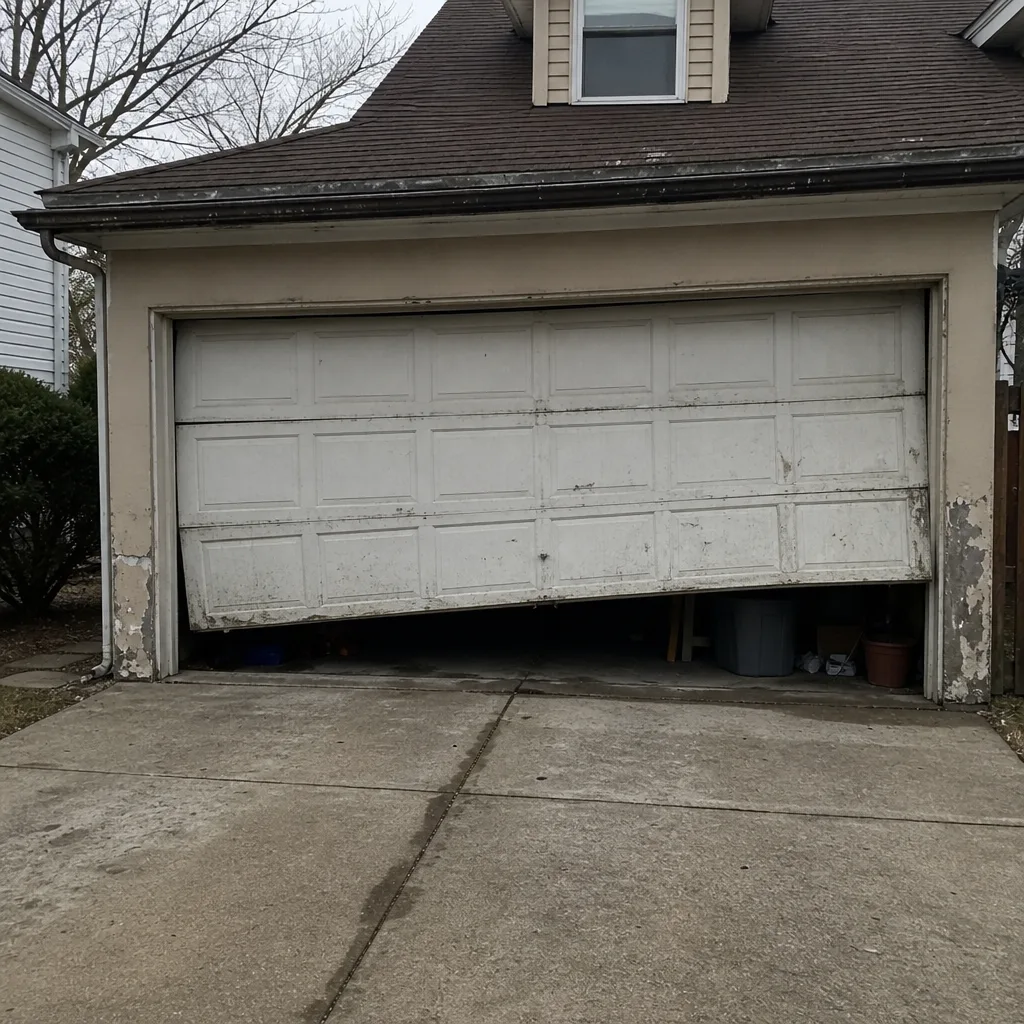 Before
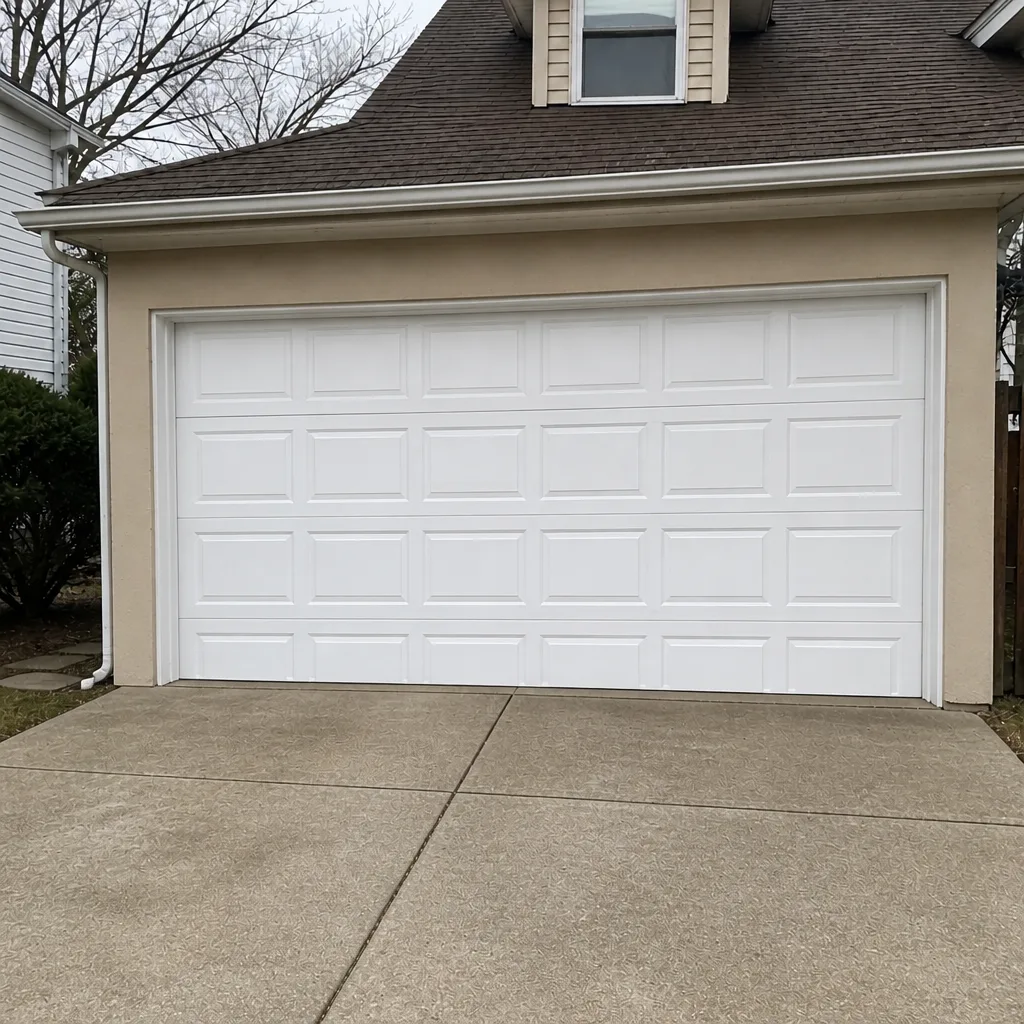 After
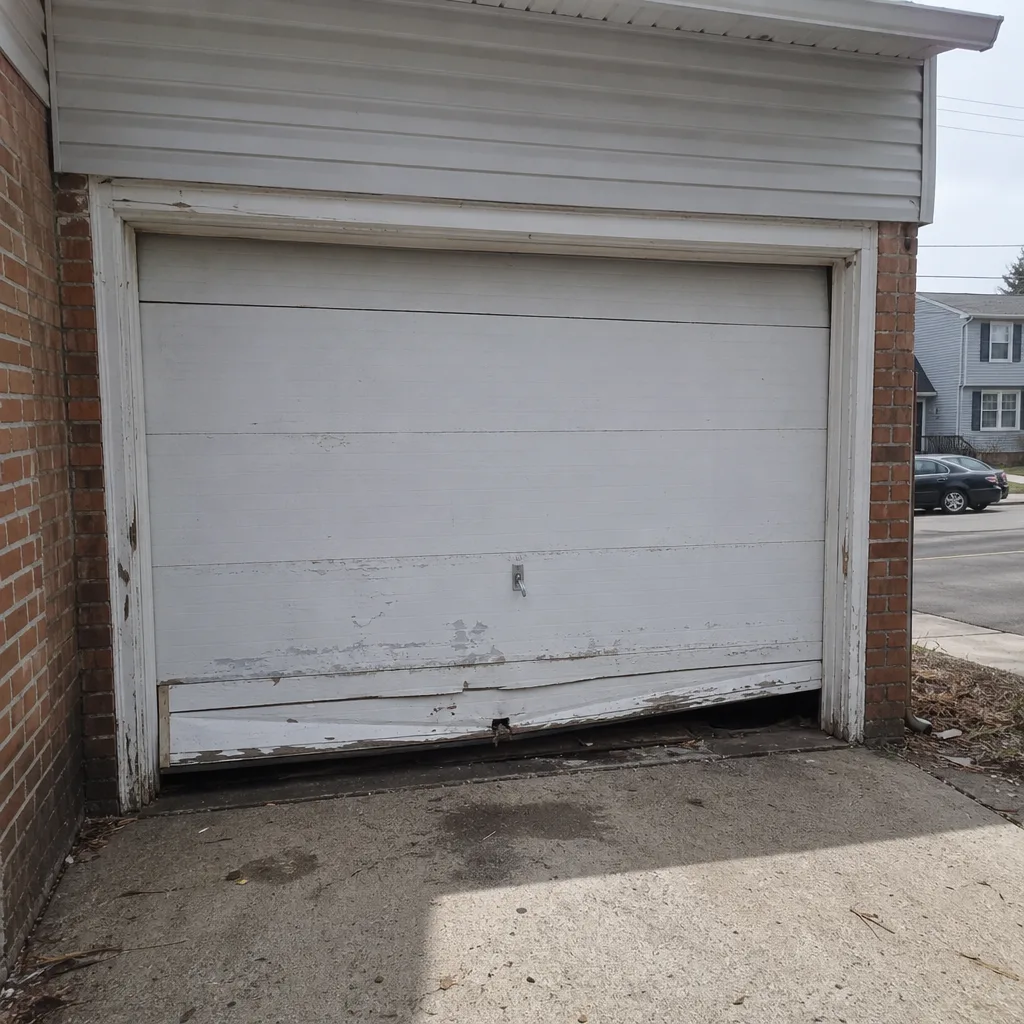 Before
 After
 Before
 After
When to Call a Professional
Call us when a spring shows a coil gap or a rust band, when the door won’t stay up on the balance test, when a cable looks frayed or kinked, or when the safety reverse fails after you’ve set the object test correctly. Call if the door comes off its tracks, if the opener runs but the door doesn’t move, or if the door reverses halfway and adjusting the travel limit doesn’t fix it. Call if a neighbor’s door in Elizabeth was replaced recently and yours is the original spring, since spring wear tends to run parallel on doors of similar age. And call if you’d rather not get on a ladder to check. Elizabeth Garage Door Repair Pros offers free estimates in Elizabeth, and we work on the brand of opener and door you already have. Our technicians have up to 10 years of experience, and we can check a spring, an opener, or a bottom seal, tell you what you’re looking at, and give you a written price before any work starts. Call (833) 654-0980. We answer 24/7. Fast dispatch from 7am to 7pm, Sunday through Friday.
Frequently Asked Questions
Four times a year, roughly once per season, because Elizabeth’s temperature swings dry out lubricant faster than in more stable climates. Spring, summer, early fall, and just before the deep cold covers it. Lubricate the springs, hinges, rollers, and opener rail, and keep the tracks dry. Call (833) 654-0980 for an exact quote if your door needs more than lubrication – estimates are free.
Often, yes. A spring close to failing usually shows a widened gap between coils, a rust band or pitting along one section, or exposed metal where the coating has worn. You can check all three with the door closed and the opener disconnected, without touching the spring. If you see any of them, call us; don’t try to adjust the spring yourself.
That’s a balance problem, and it usually means the spring has lost tension or a cable or roller is worn. Don’t force the door up and don’t run the opener, since the opener will be straining. Disconnect it by the release handle and call for an inspection. We offer free estimates in Elizabeth – call (833) 654-0980.
Yes, on most doors, as long as you match the profile. Measure the bottom edge and check your door’s brand, because Wayne Dalton and Raynor doors in particular use door-specific seal profiles that a generic strip won’t fit. Aim for the fall, before the first freeze makes the job harder and the rubber seat less easily.
Sometimes. Check the photo-eye sensors first (clean them and look for blinking indicator lights), then confirm the travel limit isn’t set too long. If the door is balanced and the sensors are clear but the door still reverses, the force setting or the opener’s internal mechanism is the cause. For that, call. We work on LiftMaster, Chamberlain, and Genie openers, and the diagnosis follows the brand.
Yes. When a broken spring traps a car or a door is stuck open, our emergency garage door service can help. We answer 24/7 and dispatch Sunday through Friday, 7am to 7pm. A call outside those hours is booked into the next opening, Sunday through Friday. For non-urgent service, our team at Elizabeth Garage Door Repair Pros offers free estimates, and the written price is set before any work starts.
The Bottom Line
Spring failure is the reason most Elizabeth homeowners end up calling, and it rarely gives you no warning. Look at the coils monthly, watch for gaps and rust, keep the springs lubricated on a four-season schedule, and test the balance, travel limits, and safety reverse every month. Fix the bottom seal before the freeze and keep the tracks dry. Everything on that list is safe to do yourself. Springs and cables are the one exception, and that line shouldn’t move. Five minutes a month gives you a quieter door, a smaller repair bill, and the confidence that the spring you’re standing under isn’t the countdown kind.
Written by the team at Elizabeth Garage Door Repair Pros.